



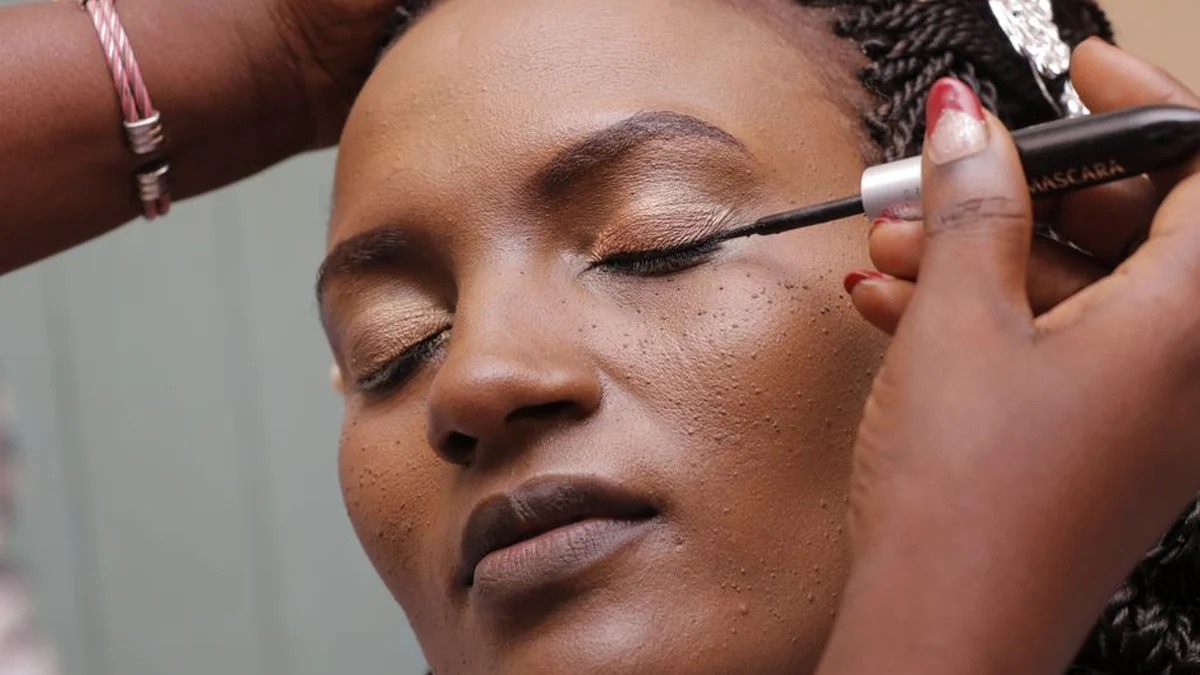
Eyeliner is the makeup skill people most often decide they’re bad at. Usually they’re not — they’ve been given a technique designed for a different eye shape and concluded the failure was theirs.
The classic winged liner tutorial assumes a visible, uncovered mobile lid. If you have hooded eyes, following it produces a wing that looks perfect with your eyes closed and vanishes completely when you open them. That’s not a skill problem.
Where liner sits in the routine is in the eye makeup guide.
The formats
Pencil
Kohl or creamy pencil. Easiest to control, softest result, and the only sensible option for the waterline.
Best for: beginners, smudged looks, the waterline, tightlining, lower lash line.
Weakness: smudges and transfers on oily lids. Look for a waterproof or gel pencil if that’s you.
Gel pot
Applied with an angled brush. The most versatile format — you control the thickness and sharpness entirely, and it can go from a soft smudge to a sharp wing with the same product.
Best for: precision with flexibility, long wear.
Weakness: needs a brush and some practice; dries out if the lid isn’t closed properly.
Liquid with a brush tip
The sharpest, most dramatic result.
Best for: defined wings, graphic looks.
Weakness: least forgiving. Mistakes are visible and hard to fix without starting over.
Felt-tip pen
The easiest liquid format. Draws like a pen.
Best for: beginners who want a sharp line, quick everyday wings.
Weakness: the tip degrades with use, and it can drag on dry or textured lids.
Powder shadow as liner
Applied with a damp angled brush.
Best for: the softest, most natural definition. Very good for mature eyes, where a hard line can look harsh.
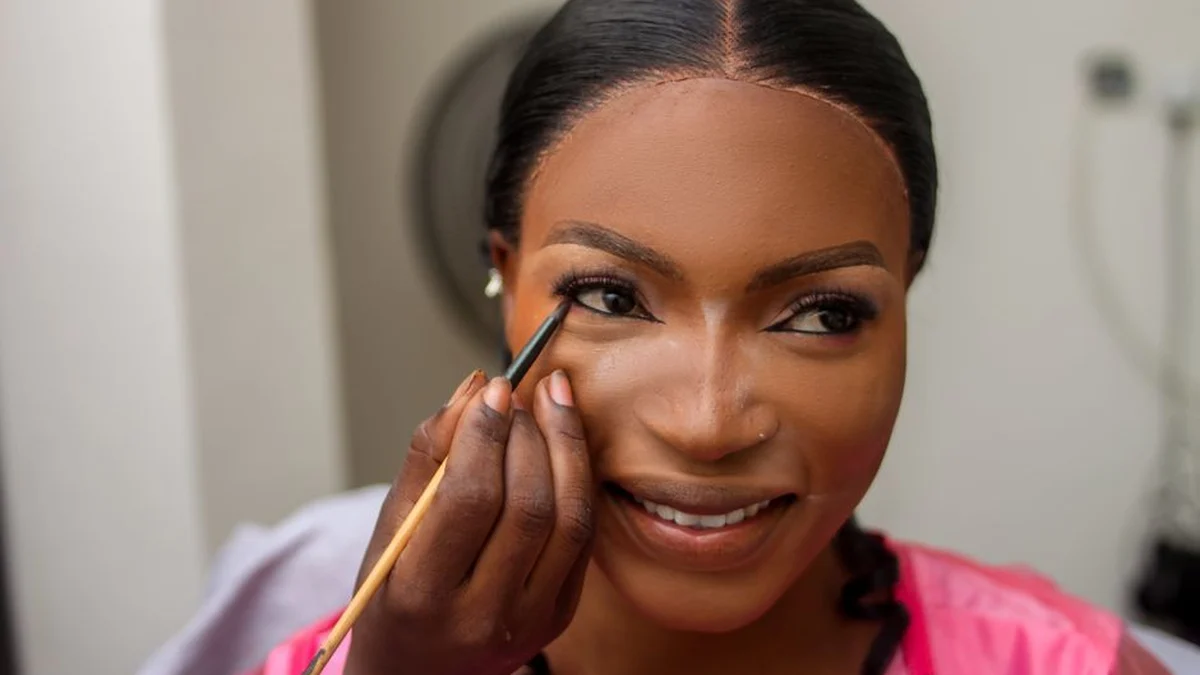
Placement by eye shape
Hooded eyes
The most important section, because standard advice fails here.
Map the wing with your eyes open. Look straight ahead in a mirror and mark where the wing needs to sit so it’s visible. It will be higher than feels natural — often above where your natural crease sits.
Keep the line thin at the inner corner and build thickness towards the outer third only. A thick line across the whole lid gets swallowed by the hood.
Angle the wing upwards and outwards along the line of your lower lash line extended.
Consider tightlining instead of a lid line. Filling the upper waterline defines the eye without any visible line to disappear.
Or skip liner on the lid entirely and use a smudged dark shadow along the lash line, which doesn’t create a hard edge that gets cut off by the hood.
Downturned eyes
Angle the wing upwards, never following the natural downward slope. Stop the lower liner two-thirds along rather than taking it to the outer corner, which drags the eye further down.
Upturned eyes
Naturally lifted, so you don’t need much wing. A slightly thicker lower line balances it.
Round eyes
Extend the liner outwards past the outer corner to elongate. Thicker at the outer third.
Almond eyes
Almost anything works. This is the shape most tutorials assume.
Deep-set eyes
Keep liner thin — a thick line makes the eye recede further. Lighter shadow on the lid.
Monolid
Thicker liner works well, since there’s no crease to swallow it. Build the thickness gradually and check with your eyes open.
Small eyes
Avoid dark liner on the lower waterline, which closes the eye visually. A nude or white pencil on the waterline opens it instead.
Practical technique
Steady your hand. Elbow on a table, little finger against your cheek.
Don’t stretch your eyelid. Pulling the skin taut gives a line that looks wavy when you let go.
Draw in short dashes along the lash line and connect them, rather than attempting one continuous stroke.
Wing first, then connect. Draw the wing as a separate stroke, then join it to the lash line — far easier than trying to end a long line perfectly.
Look down into a mirror rather than straight ahead when lining the upper lash line.
Fix mistakes with a cotton bud dipped in micellar water — it cleans up an edge without removing the rest.
Do the harder eye first. Everyone’s eyes are asymmetrical. Set the shape on the difficult one, then match the other to it, rather than the reverse.
Tightlining
The technique that gives the best return for effort, and hardly anyone does it.
Lift your upper lid slightly and press a waterproof pencil or gel liner into the upper waterline — the strip of skin behind your lashes.
The effect is denser-looking lashes and a defined eye with no visible liner. It suits everyone, it survives hooded lids, and it works under any other eye makeup.
Use a waterproof formula, since this area is naturally wet.
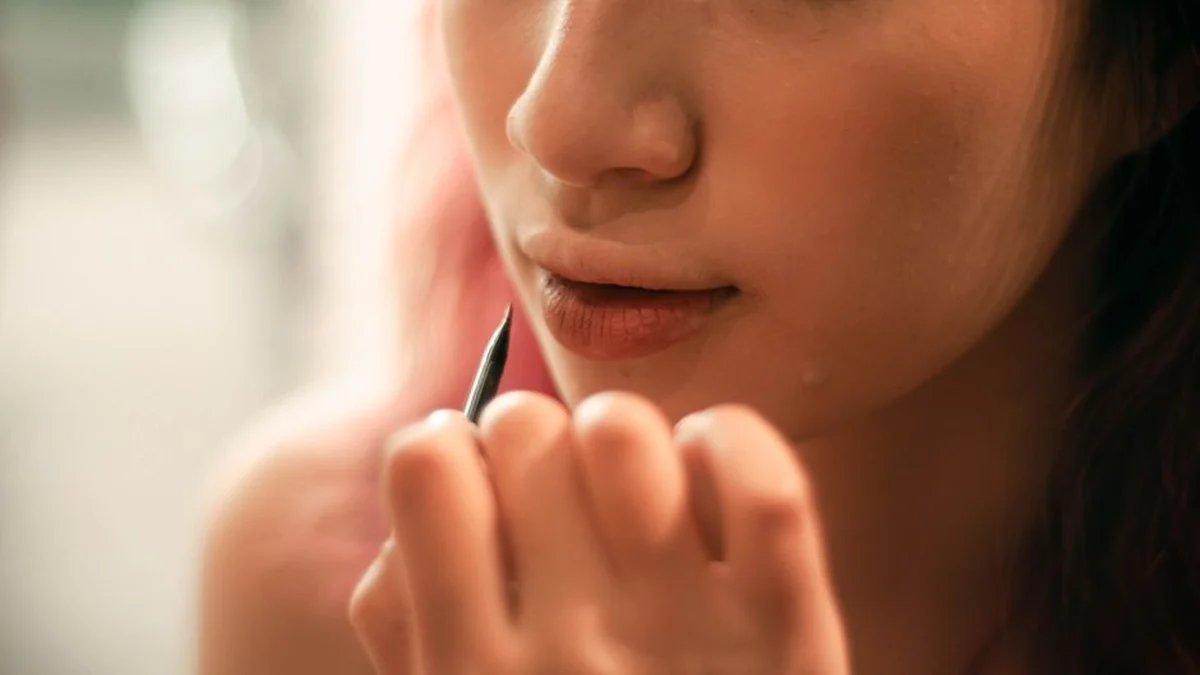
Stopping smudging and transfer
The most common complaint, and it’s usually oil.
Primer on the lid, set with translucent powder. This is the fix that works for most people.
Waterproof or long-wear formulas for the waterline and lower lash line, which are the first areas to go.
Set liner with a matching powder shadow pressed over the top with a small brush. It locks the line in and softens it slightly.
Don’t line the lower waterline if you’re prone to transfer — it migrates onto the lower lid within hours on most people.
Check your eye cream. A rich cream applied just before makeup will break liner down. Apply it earlier and let it absorb.
Colour
Black is the default and it isn’t always the best choice.
Brown is softer and more flattering for daytime, and considerably better on fair colouring and mature eyes, where black can look severe.
Navy makes the whites of the eyes look brighter — a genuine and under-used trick.
Plum and burgundy flatter green and hazel eyes.
Bronze and copper flatter blue eyes.
Nude or white on the lower waterline opens the eye and makes it look larger and more rested.
Removal and hygiene
Waterproof liner needs an oil-based remover — hold a saturated pad against the closed eye for fifteen seconds and let it dissolve rather than rubbing. The method is in makeup remover.
Sharpen pencils regularly, which also removes the contaminated surface layer.
Clean gel liner brushes weekly — a brush repeatedly dipped into a pot after touching your eye is transferring bacteria back into the product.
Replace liquid liners every three to six months.
And if you tightline or use the waterline regularly, be aware that some evidence links waterline products to blocked meibomian glands and dry eye. If you get persistent irritation or dryness, take a break and see an optician — the same caution applies to false lashes and extensions.




Comments are closed