



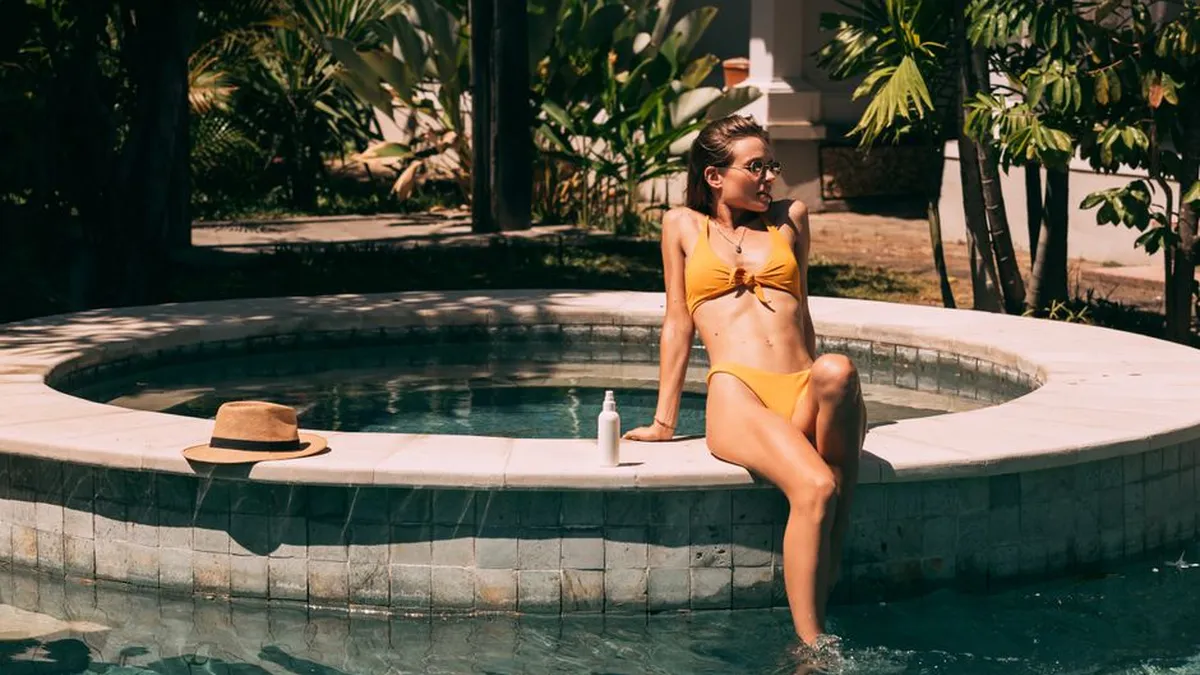
Self-tan has improved enormously and its reputation hasn’t quite caught up. Most people’s mental image is still the streaky orange of about 2006, and most bad results now come down to preparation rather than the product.
The formulations are genuinely good. What lets people down is the twenty minutes before application, which almost everyone rushes.
How it works
Nearly every self-tanner relies on dihydroxyacetone (DHA), a colourless sugar. When it contacts the amino acids in the dead cells of your outermost skin layer, it triggers the Maillard reaction — the same browning chemistry that happens when bread toasts.
Two useful implications follow.
First, the colour develops in the dead skin layer only. It doesn’t penetrate, doesn’t affect living cells, and fades as those cells naturally shed — which is why a tan lasts about five to seven days.
Second, uneven skin gives uneven colour. Anywhere the dead skin layer is thicker — elbows, knees, ankles, knuckles — develops more intensely. That’s the entire explanation for streaks, patches and dark elbows, and it’s why preparation matters more than technique.
Some products also contain erythrulose, which works more slowly and gives a more natural, longer-lasting result when combined with DHA.
The one non-negotiable: it isn’t sun protection
A DHA tan provides essentially no meaningful UV protection. Some research suggests an SPF equivalent of around 3, which is not protection in any useful sense.
You still burn. You still accumulate photoageing and skin cancer risk. The full picture is in the sun protection skincare guide, and it applies exactly as much to tanned-looking skin as to pale skin.
That said, self-tan is genuinely the safest way to look tanned, and it’s a far better option than sunbeds or deliberate sun exposure. Sunbeds carry a well-established increase in melanoma risk, particularly with use before the age of 35.
Preparation, which is most of the job
24 to 48 hours before: exfoliate. Properly — a body scrub or an exfoliating mitt over the whole area, paying attention to knees, elbows, ankles, wrists and the backs of the hands.
24 hours before: hair removal. Waxing or shaving immediately before tanning leaves open follicles, which take up colour and produce dark speckling.
Immediately before: shower with a plain, oil-free body wash and pat completely dry. Oils and heavy cleansers leave a film that blocks the tan.
Just before applying: moisturise the dry areas only — elbows, knees, ankles, wrists, knuckles, feet, and any dry patches. A thin layer creates a barrier that stops those areas grabbing too much colour. Don’t moisturise everywhere, which dilutes the tan overall.
That’s it. That’s the difference between a good result and a bad one.
The formats
Mousse is the most popular for a reason — it’s easy to see where you’ve applied it, it dries fast, and it usually contains a guide colour. Detail in self tanning mousse.
Water is the newest format: clear, lightweight, no guide colour, absorbs like a toner. Suits acne-prone and oily skin. Covered in tanning water.
Lotion is gradual, forgiving and moisturising — the best format for beginners and dry skin. See sunless tanning lotion.
Drops are concentrated DHA that you mix into your own moisturiser, giving total control over intensity. Excellent for the face.
Sprays and mists are quick and good for hard-to-reach areas, and the hardest to apply evenly.
Wipes are convenient for small areas and difficult to use evenly on a whole body.
Applying it
Use a mitt. Always. It gives even distribution and keeps your palms clean, and orange palms are the single most recognisable self-tan giveaway.
Work in sections — legs, then torso, then arms, then face last — using long sweeping motions, then buff in circles to blend.
Go light on the joints. Elbows, knees and ankles need whatever product is left on the mitt, not fresh product.
Hands and feet last, and barely. Use the residue on the mitt. For hands, apply with the mitt then wipe between the fingers and around the nail beds with a damp cloth.
Face: less product, well blended, taken down over the jaw onto the neck so there’s no line. Blend into the hairline and behind the ears.
Then wait. Don’t dress for at least ten minutes, and wear loose dark clothing. No showering, swimming, exercise or anything that makes you sweat for the development time stated — usually four to eight hours.
Making it last
Moisturise daily. Hydrated skin sheds more slowly and evenly, and this does more for longevity than any “tan extender”.
Shower cooler and shorter. Long hot showers accelerate shedding.
Pat dry rather than rubbing.
Avoid exfoliating scrubs, chlorinated pools, salt water and long baths.
Skip oil-based body products, which break down the tan.
Expect five to seven days from a standard tan, then exfoliate fully and start again rather than layering onto a patchy fading one.
Fixing mistakes
Too dark overall: exfoliate in the shower with a mitt. Repeat. A soak in a bath with bicarbonate of soda, or lemon juice on a flannel, will lift it — used on the body, not the face.
Streaks: buff with a damp exfoliating mitt, then blend the edges with a little moisturiser or a light layer of tan.
Dark patches on elbows and knees: scrub with a mixture of sugar and oil, or use a specific tan remover.
Orange palms: lemon juice, toothpaste or a nail brush with soap. Prevention — wear a mitt — is much easier.
A hard line at the jaw or wrist: blend downwards with a damp mitt.
Patchy fading: exfoliate everything off and start over. Layering onto a patchy tan compounds the patchiness.
Choosing an undertone
The reason self-tan goes orange is usually undertone mismatch rather than product failure.
Very fair or pink-toned skin suits violet or green-based formulations, which counteract orange and give a cooler, more natural result.
Medium and olive skin suits standard or green-based tans.
Deeper skin tones suit red or bronze-based formulations for warmth and depth.
Start lighter than you want. You can build up over two applications; you can’t take colour off easily.
Skin type considerations
Acne-prone skin: avoid heavy mousses and lotions on the face. Tanning water or drops mixed into a light moisturiser are better.
Dry skin: lotion formats, plus consistent moisturising. Dry skin sheds unevenly and gives patchier results.
Sensitive skin: patch test 24 hours before. Fragrance-free options exist and are worth seeking out.
Eczema or psoriasis: avoid applying over active patches, where the skin barrier is disrupted and results will be uneven and possibly irritating.
A note on inhalation and spray tans
DHA is considered safe for external use on intact skin. Regulators have raised questions about inhalation and contact with mucous membranes, which is relevant to spray tanning booths rather than home application.
If you have a professional spray tan, use the nose filters, eye protection and lip balm offered, and hold your breath during facial passes. Reputable salons provide all of these without being asked.
This article is general information, not medical advice. Patch test any self-tanner 24 hours before first use. Self-tan provides no meaningful sun protection — continue to use sunscreen. Any new, changing or non-healing skin lesion should be assessed by a GP.



Comments are closed