



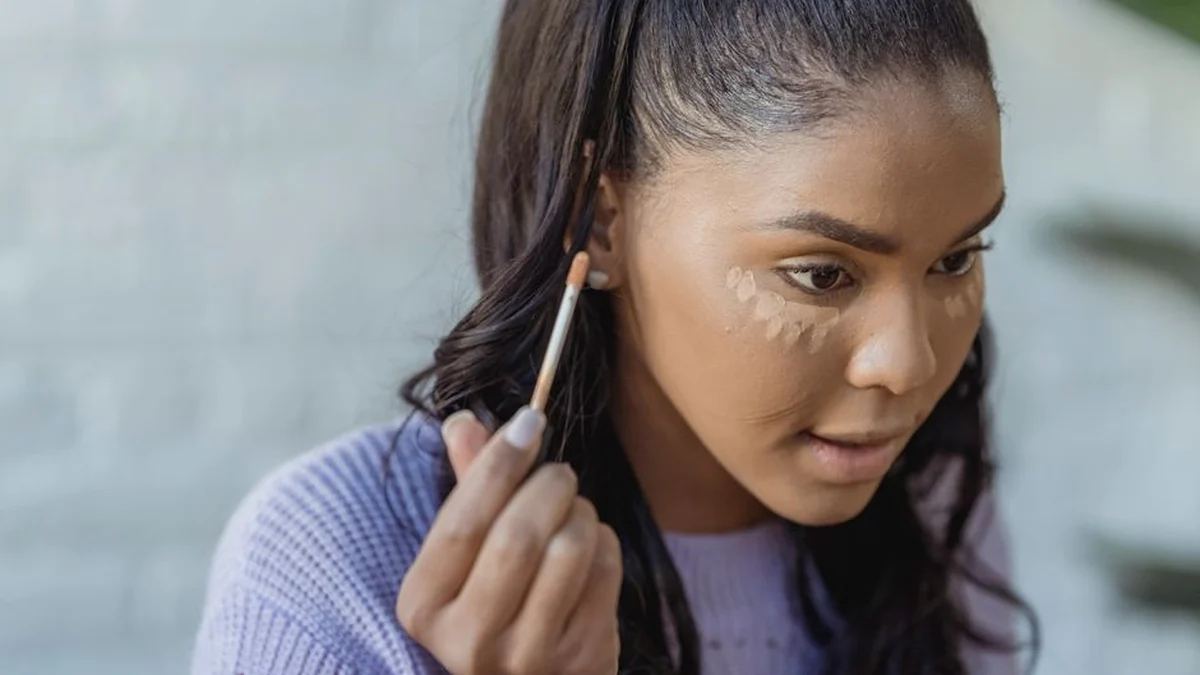
Concealer is the product people use most and understand least. The default approach — a bright shade smeared in a wide semicircle under the eye, then powdered heavily — creates almost every problem people then complain about.
Creasing, ashiness, that oddly highlighted look that draws attention to exactly the area you were trying to disguise. All fixable, and mostly by using less.
Where concealer sits in the routine is in the base makeup routine guide — and it goes after foundation, not before, which alone reduces how much you need.
Different jobs, different products
The single most useful shift: stop using one concealer for everything.
Under-eye needs hydration and flexibility. The skin there is thin and moves constantly, so a thick, matte, full-coverage formula will crease within an hour no matter what you do.
Blemishes need the opposite — high coverage, matte, a shade that matches your skin exactly. A lighter shade on a spot draws the eye straight to it.
Redness around the nose and on the cheeks needs either a colour corrector underneath or a medium-coverage product pressed in.
Two concealers cover almost every situation: a hydrating one and a full-coverage one.
Shade rules
Under-eye: one shade lighter than your foundation, maximum. Anything brighter than that produces the pale-goggles effect, which reads as makeup from across a room.
Blemishes: exact match to your foundation. Not lighter.
Undertone: for under-eyes, a peach or salmon undertone counteracts blue and purple shadows far better than a neutral one. This is the adjustment that makes the biggest difference for most people and it’s rarely explained.
Colour correction, simplified
Colour theory: opposites cancel out.
Green cancels red. For rosacea, spots, and redness around the nose.
Peach cancels light blue and purple. For dark circles on fair to light-medium skin.
Orange cancels deep blue and brown. For dark circles on medium to deep skin.
Yellow cancels purple. For mild bruising and dullness.
Lavender cancels yellow. For sallowness.
Use sparingly, in a thin layer, only where the discolouration actually is. Then a thin layer of concealer over the top.
The commonest mistake is using too much corrector, which means you then need heavy concealer to cover the corrector — and you’ve built three layers where one would have done.
Note that colour correction doesn’t help every type of dark circle. If yours are structural shadows from a hollow, no pigment fixes them — the breakdown is in eye cream.
Placement under the eyes
Not a semicircle following the lash line. That’s where it creases and where it makes the area look heavier.
An inverted triangle: base along the under-eye, point down towards the cheek. This brightens the whole centre of the face and lifts rather than emphasising.
Concentrate the product on the inner corner, where darkness is usually deepest, and blend outwards with almost nothing on the brush by the time you reach the outer edge.
Don’t take it right up to the lash line. Leave a millimetre or two — that’s the area that creases first.
Use very little. A dot the size of a match head per eye is often enough. If you’re using more, you’re probably compensating for the wrong undertone.
Stopping the creasing
The most-asked question, and there are five answers.
1. Use less. This solves it more often than anything else on the list. Product volume is the main driver of creasing.
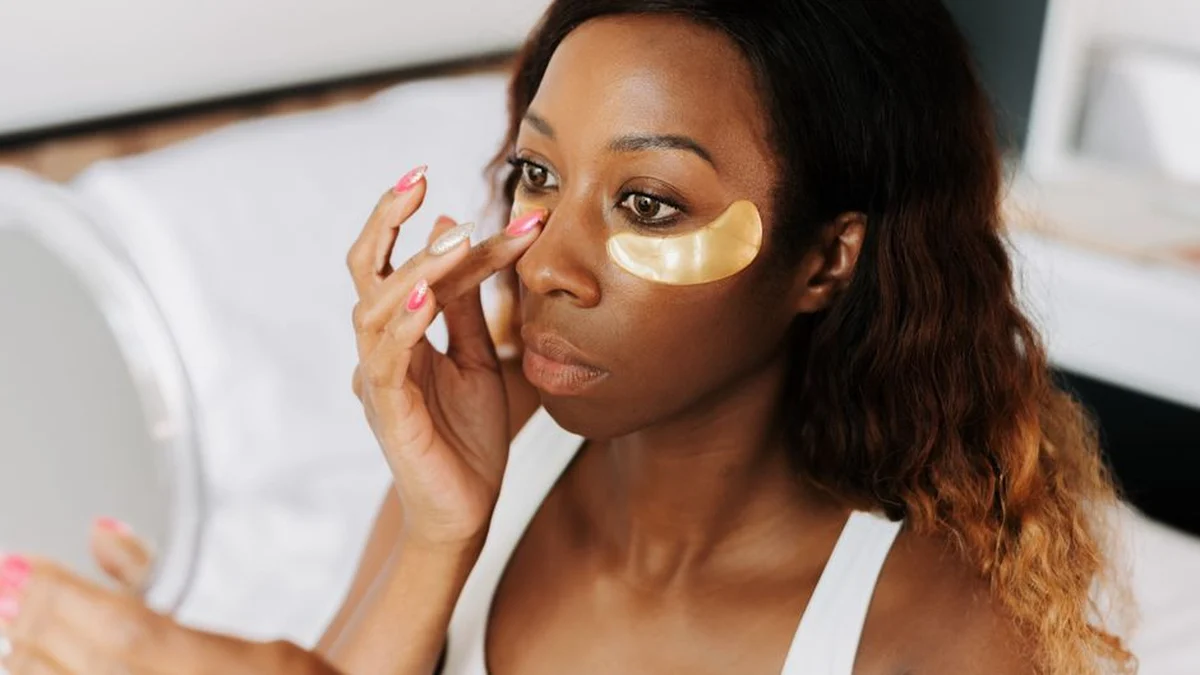
2. Hydrate the area first. Concealer on dry under-eye skin clings and cracks. A light eye cream, given two minutes to absorb, makes a substantial difference.
3. Don’t over-moisturise either. Applying concealer onto wet product means it slides and pools. Two minutes.
4. Set with a whisper of powder. A tiny amount of finely milled translucent powder, pressed with a small brush, only where creasing happens. Not a heavy dusting — heavy powder under the eyes creates its own cracking and ages the appearance considerably.
5. Choose a flexible formula. Some concealers are simply too thick for the eye area regardless of technique.
Baking — applying a thick layer of powder and leaving it for several minutes — works on some skin and is a reliable disaster on dry or mature skin. Try it before you commit to it for an event.

Covering a spot properly
Different technique entirely, and most people do the opposite of what works.
Don’t blend outwards. Blending removes the product from the thing you’re trying to cover and spreads it onto skin that didn’t need it.
Press, don’t sweep. A small, dense brush or a clean fingertip, pressed straight down onto the spot.
Blend only the edges, leaving the centre intact.
Set immediately with a touch of powder, then reassess. Add a second thin layer if needed.
Match the shade exactly. A lighter concealer on a raised spot creates a highlight on a bump, which is the most visible possible outcome.
If the spot is flaking, no concealer will look good over it. A tiny amount of balm, left to soften it, then gently removed, gives you a surface to work with.
Tools
Fingers: warmth helps it melt in. Best for sheer application under the eyes.
Damp sponge: most natural finish, though it absorbs a lot of product.
Small dense brush: most precise, best for spots.
The doe-foot applicator: fine for dispensing, not for applying — it deposits far too much in one place.
Wash your tools. A sponge used daily for three weeks is a genuinely unpleasant object and it’s going on skin you’re trying to keep clear. Weekly washing minimum, and replace sponges every couple of months.
Other places concealer is useful
Around the nostrils and the corners of the nose, where redness collects. Press, don’t rub.
On the eyelids as a base, which evens out discolouration and helps eyeshadow last — though a dedicated primer does it better, as covered in the eye makeup guide.
Sharpening the edges of lipstick or brows with a small brush, though this needs a very light hand.
What concealer can’t do
Cover texture. Concealer sits on top of raised or indented skin and often emphasises it. Flat discolouration is what it’s for.
Fix structural dark circles, which are shadows from bone and fat structure rather than pigment.
Look invisible in heavy quantity. The more you apply, the more visible it becomes — which is the central paradox of this product and the reason “use less” appears four times in this article.






Comments are closed